
Hey, everyone! This article will walk you through the steps on how to start a crypto exchange, so that you may start generating Bitcoin (BTC) within one hour.
You can become the founder of your very own cryptocurrency exchange by following the appropriate steps that I will outline below. These processes will also demonstrate how to start a crypto exchange to earn Bitcoin (BTC) in an efficient manner.
I came up with an amazing technique to earn Bitcoin, which is the most effective cryptocurrency in the world, in contrast to other people, who are working as hard as possible to make profits online.
You're probably wondering about methods for earning Bitcoin (BTC) online, but you don't really know how to get started, right? Guess what? The same thing happened to me. I was overwhelmed with many options. I had the desire of earning a passive income, but I wanted to make it with bitcoin. To do this, I started brainstorming of creative ways to make money with cryptocurrencies, which no one had done before.
Starting AmolBiranje.com was one of the best decisions I ever made. More importantly, it’s how I add value to other people’s lives.
So I have created how to start a crypto exchange easy step-by-step guide that allows anyone from anywhere to start earning digital money in Bitcoin (BTC) by starting their own crypto exchange without any technical skills. No matter what level of experience you have, whether you are a newbie or belong to any type of industry, it really doesn’t matter who you are and whatever stream you are in, all I can say for sure is that anyone can start easily as long as you have a strong desire and passion to achieve big success online.
How to Successfully Start a Crypto Exchange
Step 1 - Choose a Name And Get Your Web Hosting
The first thing I did when starting my own crypto exchange website was go to TheHostLayer.com and register our domain, which is free with web hosting. I'll explain web hosting in a moment, but let’s talk about your domain name first.
A domain name is the URL of a website that a visitor will use to open your website.
Your domain name is an important part of your website because it creates a first impression—it is the name of your crypto exchange website. Your domain, also known as your URL, is also your address on the web. For example, my domain name is www.amolbiranje.com
What would you like to call your cryptocurrency trading platform, then? Maybe it’s YourName.com. Maybe it’s YourBusinessName.com. Or maybe it’s a creative brand name you thought up.
Here are some extra tips for choosing an excellent domain name:
- Choose a short and catchy name that anyone can remember.
- Always choose (TLD's) Top Level Domains like .com .net and .org
- Avoid using numbers and hyphens
- Should be easy to say and understand
- Avoid complicated and commonly misspelled words
- When you land on an available name, click Add It to Your Cart.
Don’t buy it yet. I’ll show you how to get your domain for free in the next step.
Once you’ve decided on a domain name, you’ll need to set up web hosting for your crypto exchange website. While WordPress itself is free, you need a reliable place to host your WordPress website (your website needs to be on a server somewhere on the Internet).
For web hosting, we recommend TheHostLayer.com for several reasons:
Best Web Hosting
I personally use TheHostLayer to host websites. TheHostLayer offers the best web hosting packages ranging from basic, intermediate, and advanced, which fulfill the requirements for your crypto platform.
Outstanding customer service:
TheHostLayer's customer service is awesome and friendly. Their remote hand’s technical support is available 24/7 to resolve any hosting-related issues. It doesn’t matter if it’s 3 AM or the middle of your business day. If you have any questions, they will help you through the entire setup process.
Best Pricing:
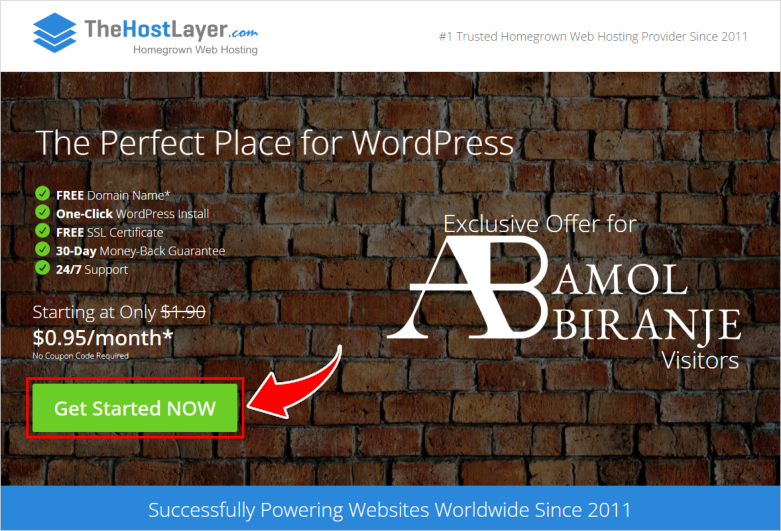
TheHostLayer offers a special offer of a 50% discount for AmolBiranje.com visitors, starting at only $0.95 a month. It is way cheaper to start your own cryptocurrency exchange.
Free Domain:
When you sign up for web hosting, TheHostLayer they give you a free domain name, which allows you to avoid the additional fees associated with purchasing a domain on your own.
A Money-Back:
Guarantee TheHostLayer offers a 30-day money-back guarantee on every web hosting plan, so there’s no risk if you change your mind.
Reliability:
The HostLayer’s facilities are world-class. Featuring 300,000 sq. ft. of world-class data centers in Houston, TX, and Provo, UT, with enough backup generators to power a city.
Friends and family
Many of my friends, family, and clients also use The HostLayer to host their blogs and websites.
Now it’s time to launch your crypto exchange website live. Go to TheHostLayer.com and click the "Get Started Now" button.
Next, choose your web hosting plan.
You’ll see three different plans. Select the Basic Plan for $0.95/month. It includes everything you need to just get started. You also have the option to upgrade at a later time, should the requirement arise. Thus, for the moment choose the Basic Plan.

Once you select your plan you’ll choose to Register a domain name.
Following the selection of your plan, you will be offered with the free option to Register a domain name.
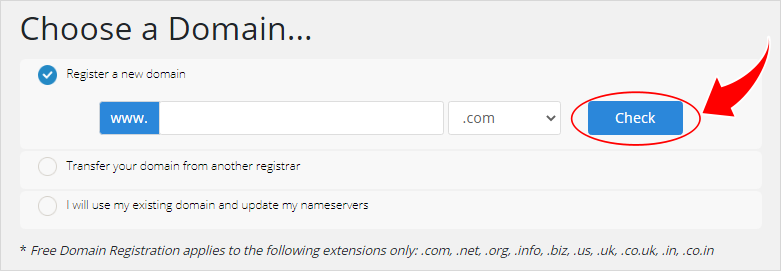
Once you've clicked "check," you will be presented with a list of the available domain choices. You can add the one that you want and Continue.
You can review and checkout for the further steps. As mentioned, you get a free domain, free SiteLock website security, and FLAT 50% OFF as a special discount, which is an amazing deal to get you started at a very low investment.
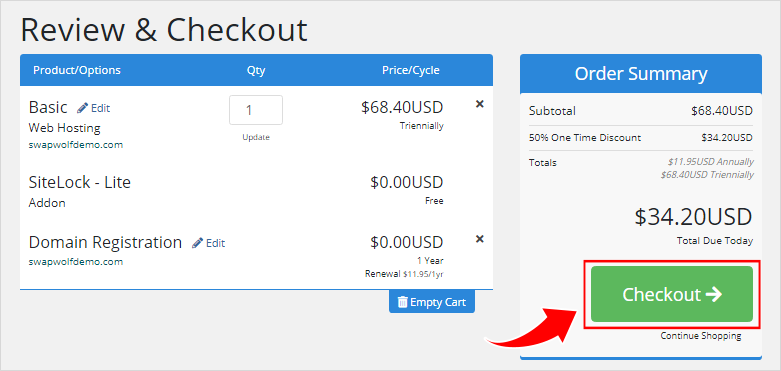
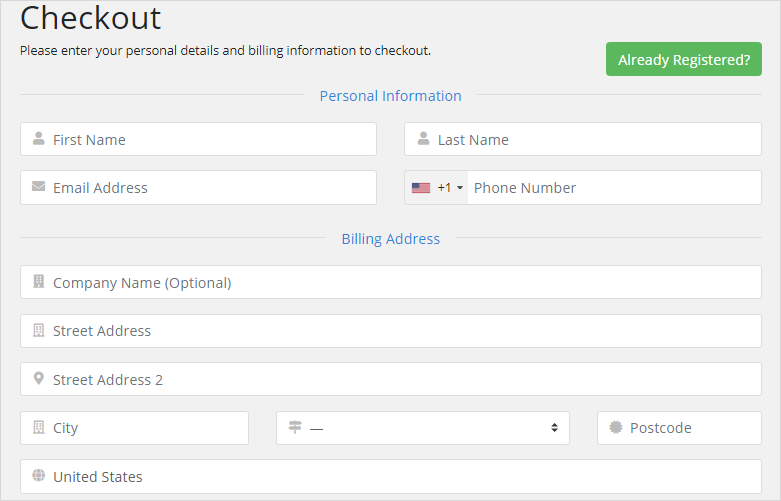
Confirm your product/options and click Checkout.
Once you reach the checkout page, you will see the following: Complete the order by providing your personal information and billing information, selecting the payment method you like, and hitting the "Complete Order" button.
Once you have received order confirmation, you have successfully completed the most difficult step!
Congrats! 👍
Step 2 - Install WordPress
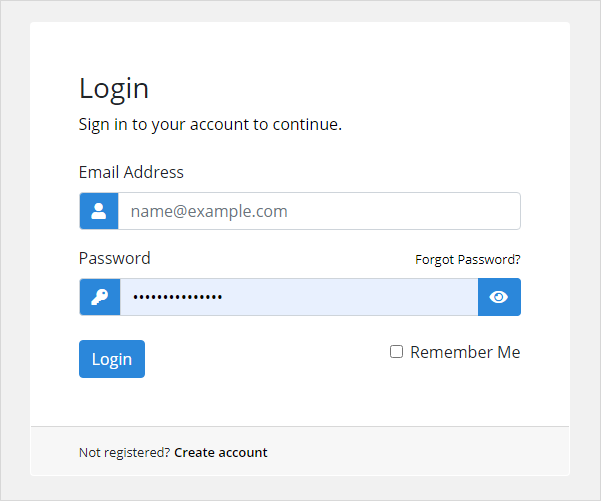
After you get a free domain with your web hosting account, you can log in via the Client Area using the login details you received in the email.
Once you have received confirmation of your order, you will have successfully completed the step that was the most difficult!

In the products and services section, you will see the status. Click "Active."

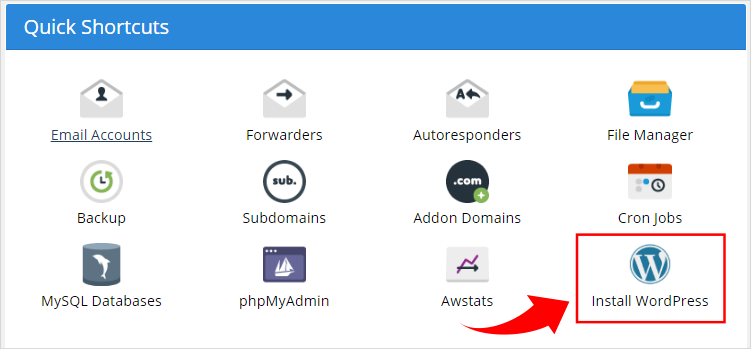
The HostLayer provides quick shortcuts to make it easy for you to set up a WordPress website. Simply scroll down and click "Install WordPress" This will take you to the final step for the installation of your new WordPress website.
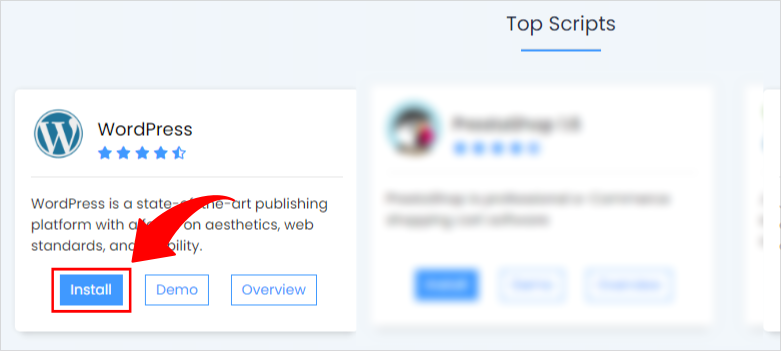
You will be taken to the WordPress Management in the new tab of your browser. Click Install.
The last thing you need to do before publishing your WordPress site is to fill in some basic information like the site's name and description and create a secure password for your administrator account.
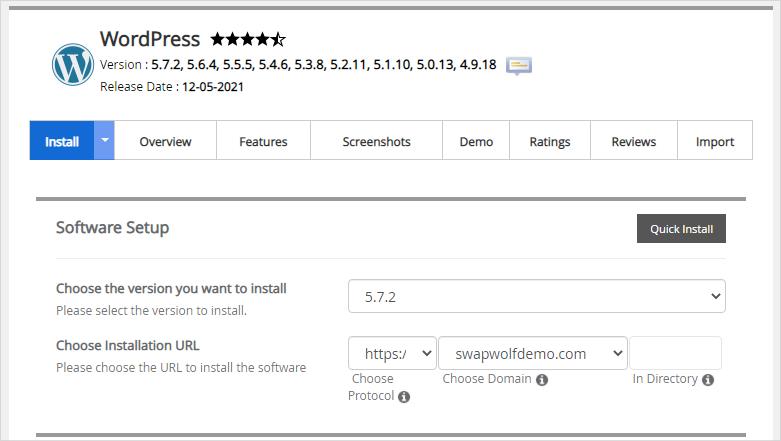
Let the rest of the settings remain as default, scroll down and click "Install".
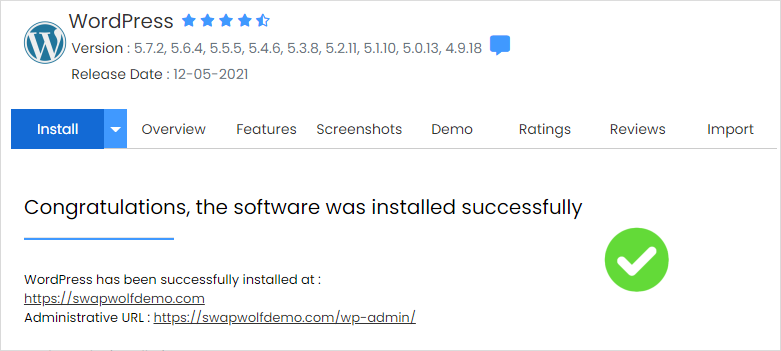
Within a minute, you’ll have your own fully functional WordPress website up and running.
Congratulations, You installed your WordPress successfully.
Step 3 - Install and Customize WordPress Theme
A WordPress theme is a collection of templates, files, and stylesheets that dictate your website design.
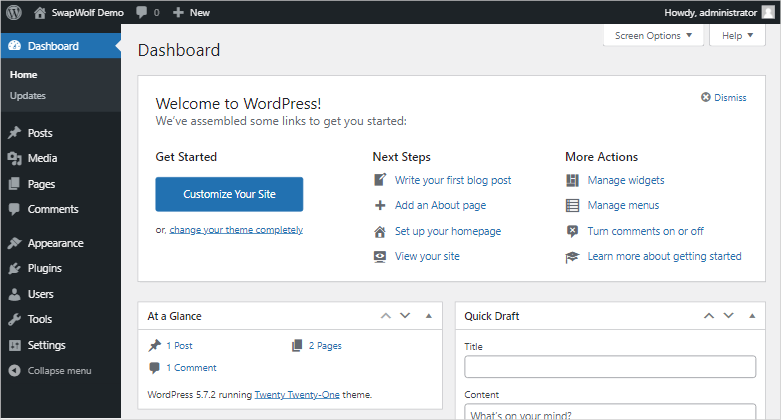
In the world of blogging and website, WordPress designs are called themes. Right now, your website might look something like this:
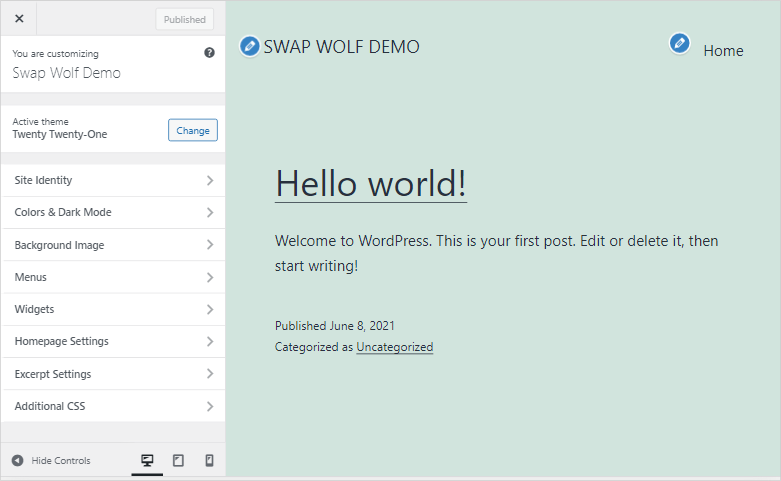
This is the default WordPress theme, and on the left side is a menu that helps you change its appearance.
There are thousands of themes to choose from. You can either get a free theme with limited options or go with a premium theme.
I recommend you get a premium theme from sites like Themeforest or Elegant Themes for your website.
You can also get a customized website design from TheHostLayer Website Design Services.
Here’s how you can install a new theme for your WordPress website:
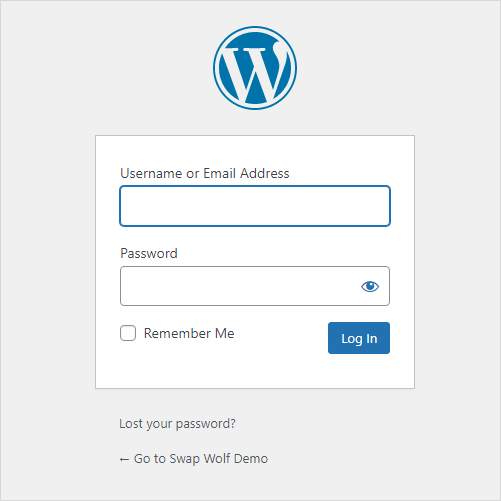
First, you need to log into your WordPress admin. You can access this by going to yourdomain.com/wp-admin.
Here, you’ll need to enter your user credentials to log in.
Once you are logged in to WordPress Admin, the dashboard might look a little this:
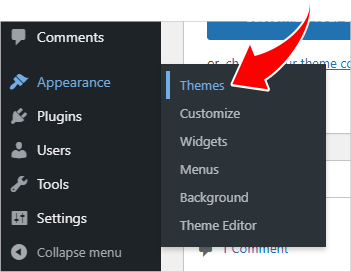
To install a new theme, click on the “Appearance” menu in the sidebar and click “Themes.”
WordPress comes with a few themes – their “Twenty Twenty-Series” themes.
To search for the best theme options, click the “Add New” button at the top to get access to thousands of WordPress themes.
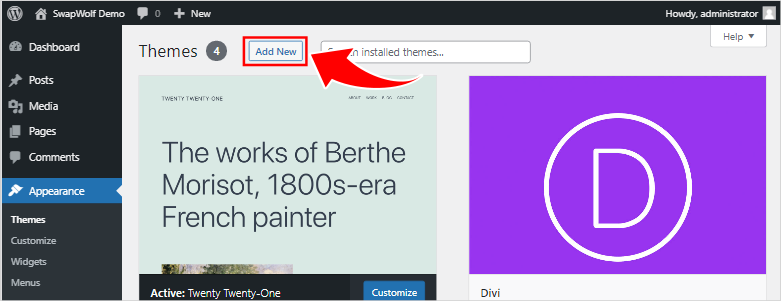
You can scroll down and preview as many WordPress themes as you want before picking one for your website.
WordPress has a collection of themes based on “Featured, Popular, and Latest". You can also search on "Feature Filter” which lets you search for your specific theme that fits you.
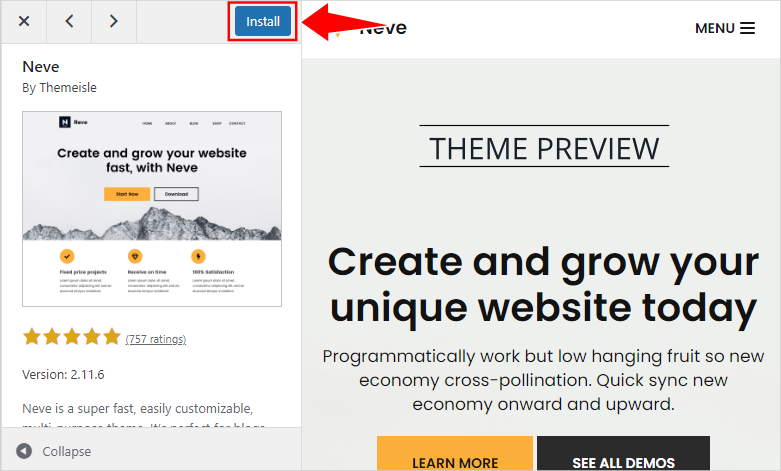
Once the installation is complete, click the “Activate” button and you’re all set.
To install an external theme from a site like ThemeForest and ElegantThemes go to “Appearance” – “Themes” and click “Add New,” upload the zip file, click "Install" and "Activate".
Step 4 - Install The Cryptocurrency Exchange Plugin
Plugins are sets of tools that integrate with your website and extend its features.
In this step, you will install and activate ChangeNow's "Crypto Exchange Plugin".
Using ChangeNow's API, you can integrate a decentralized cryptocurrency exchange into your newly created WordPress website. It’s as simple as installing any other plugin and typing into the post or page of your WordPress website.
The first step is that you have to "Install" and "Activate" the plugin from here: Download Plugin
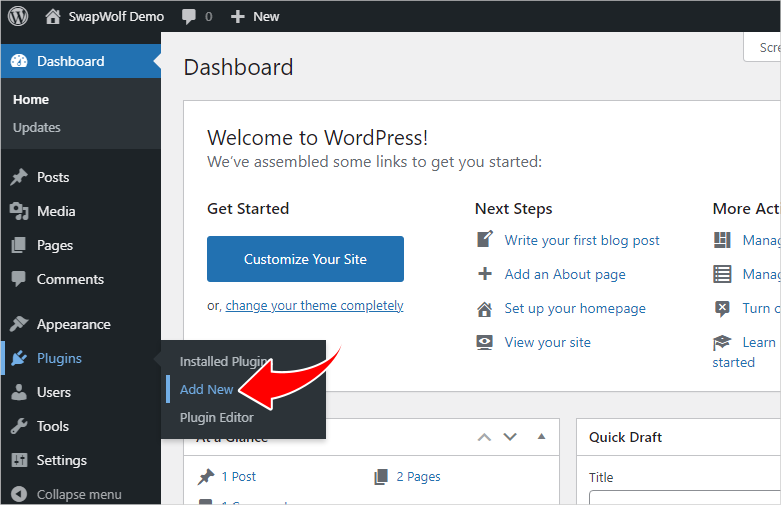
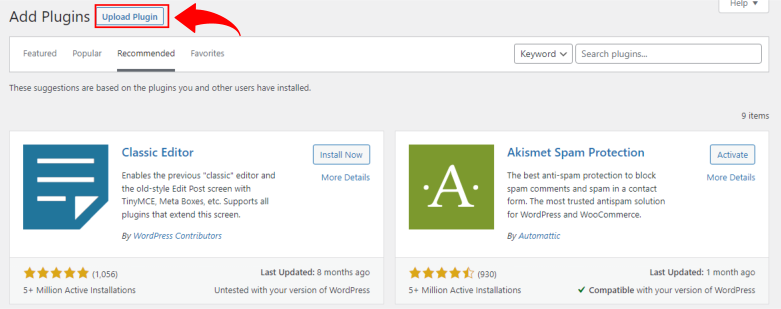
From the dashboard, click Plugins>>Add New>>Upload Plugin > > Choose File >> and
Click the “Install Now” button.
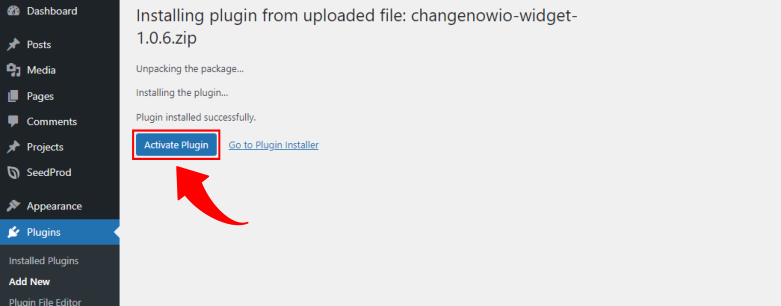
Once the installation is complete, Then, hit the “Activate” button.
Now type the shortcode: ![]() into the post or page on your newly created WordPress website, and it’s done!
into the post or page on your newly created WordPress website, and it’s done!
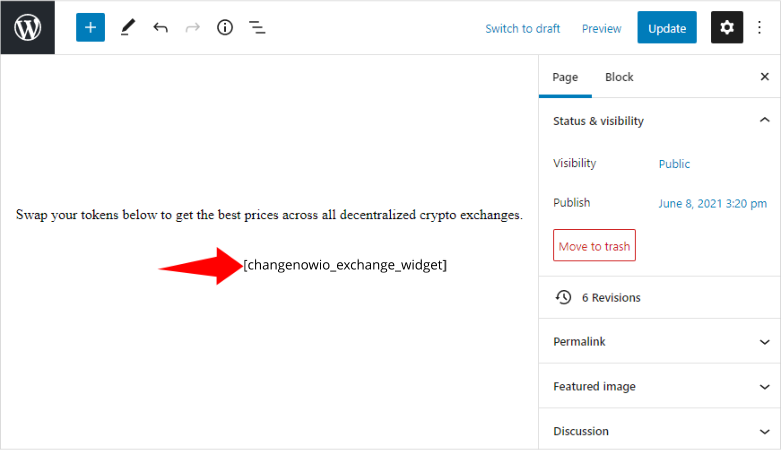
You’ll have your own cryptocurrency exchange that will route the trades across all the cross-chain swaps with DEX-exclusive assets at the best rates!

Step 5 - Start Earning Bitcoin (BTC)
You are now at the final step to earn Bitcoin (BTC).
Once you install WordPress with the Cryptocurrency Exchange Plugin activated, all you need to do is create your partner account for further access to your income history. You'll get a public API key and a password.
FINAL 3 STEPS TO MAKE YOUR CRYPTO EXCHANGE LIVE.
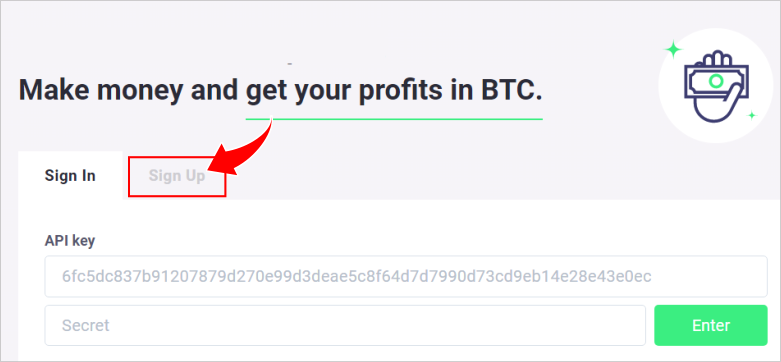
- Get your personal API key here: Your partner's account on Changenow.io
You just have to click the "Sign-Up" button.
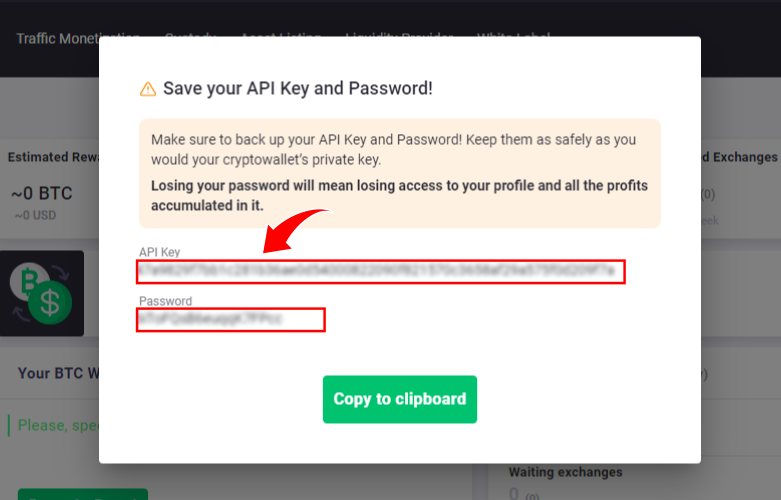
2. Once you click "Sign Up," you will see a pop-up on your screen that consists of your API and password.
3: Finally Paste your API Key into the Cryptocurrency Exchange Plugin via the WordPress Admin page "Settings"->"ChangeNow.io Widget"
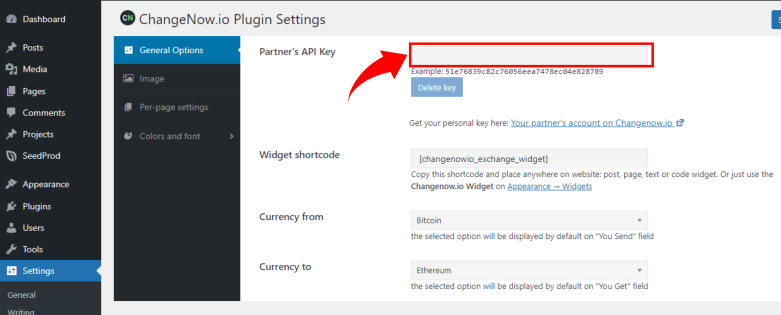
Click “Save Settings.”
Once your API key is deployed, from that point on, all the exchanges made on your website will be routed through the API.
Depending on your WordPress setup, you might have to delete or clear your cache.
Initiate some transactions and test that everything is working properly.
To check your income, visit the ChangeNOW Partner Console.
And It’s Done… Cheers…
YOU HAVE SUCCESSFULLY LAUNCHED YOUR OWN CRYPTO EXCHANGE AND READY TO EARN BITCOIN (BTC).

🖼️How To Start A Crypto Exchange (Infographic)

❓Frequently Asked Questions (FAQ’s)
What is Cryptocurrency Exchange?
A cryptocurrency exchange, also known as a digital currency exchange, is a company that lets consumers trade cryptocurrencies or digital currencies for other assets like fiat money or other digital currencies. Credit card payments, wire transfers, and other modes of payment may be accepted through exchanges in exchange for digital currencies or cryptocurrencies. A cryptocurrency exchange can either be a market maker that charges a transaction commission based on the bid–ask spreads or a matching platform that simply collects fees.
What is Crypto Swap?
Crypto Swap allows you to quickly trade one crypto asset for another, in whole or in part. There aren't any fiat money involved. It's a simple and quick method to try out new crypto assets, as well as a lot more.
How to Start my own Crypto Exchange Service?
You can easily get started by following the 5 step-by-step guide created by Amol Biranje
What are the benefits starting a Crypto Exchange?
The benefit of starting own crypto exchange services is you earn bitcoin on every swap done on your platform by collecting fees. It is the smart way to earn bitcoin without buying them.
What is the future of Cryptocurrency Exchanges?
Well actually it's the future of digital currencies in coming time and it has already taken it's place across the globe due to it's decentralization, If you start your own crypto exchange now you will definitely be the smart one who took the best decision because you are not buying any cryptos you are earning them that's the smartest way to live in crypto world.
Can I make profit starting crypto exchange?
Yes, you can earn 0.4 percent of the income you bring in.


0 Comments